
Correction
Paint Correction
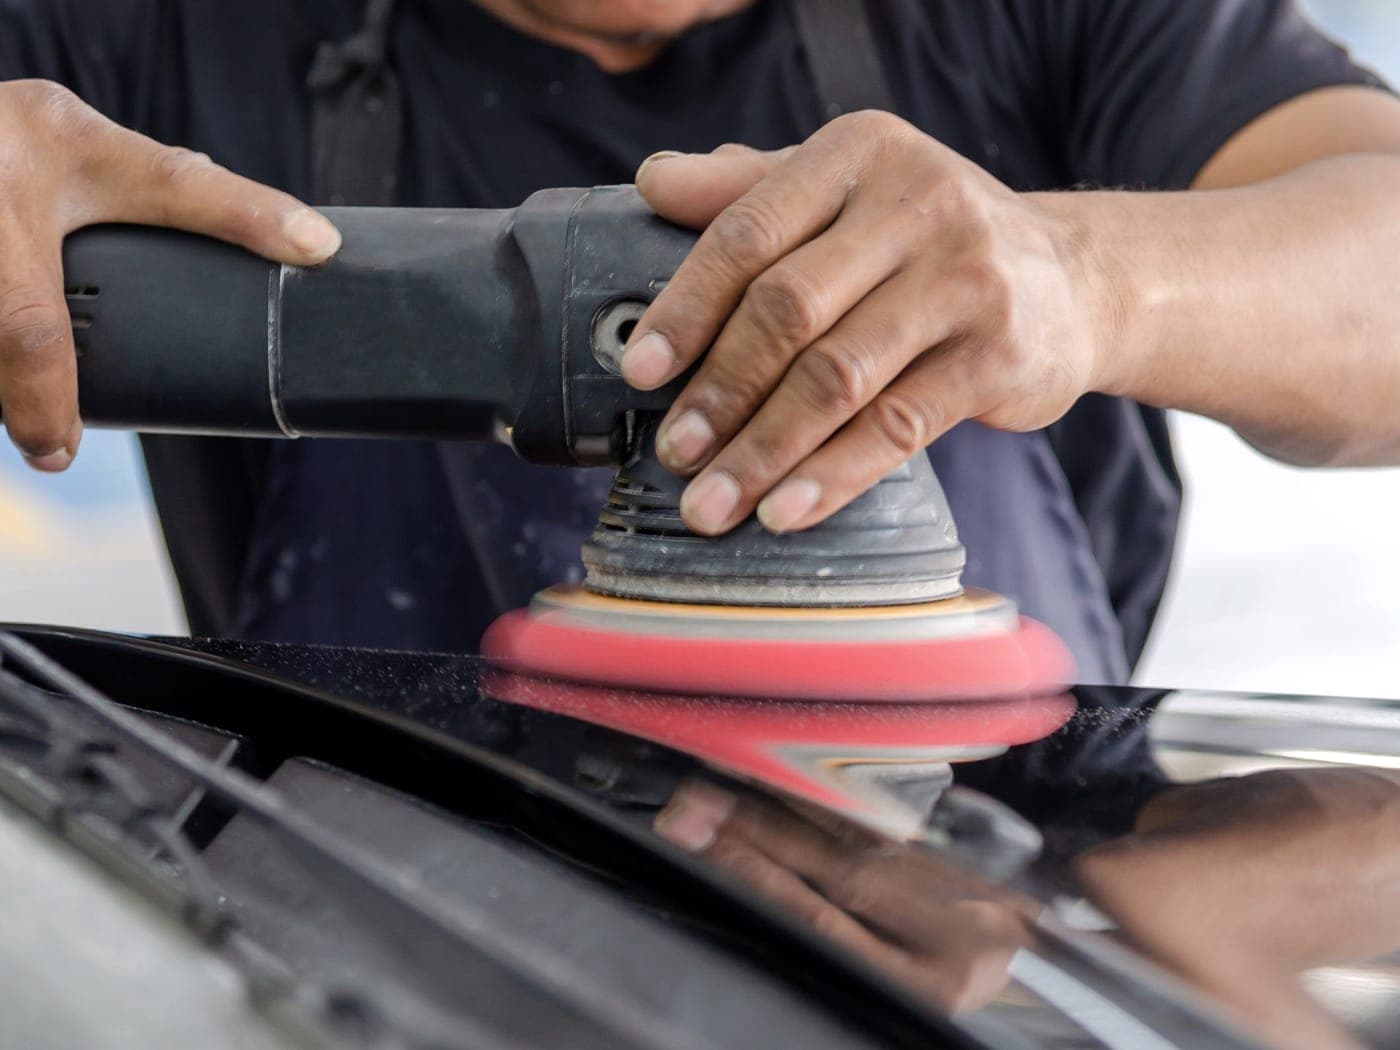
Correction is the difference between a car that looks clean and a car that looks deep. Under direct light, most daily-driven paint in this region carries a haze of fine circular scratches. That haze is the reason a black car never quite looks black.
Every correction starts with inspection rather than a polisher. Clean, decontaminated paint gets read under raking light so the actual defect pattern shows: wash marring, buffer trails from a previous shop, bird-etch, sanding marks from a repaint. We measure paint thickness before any abrasive touches a panel, because clear coat is a finite resource and a panel corrected three times may not have a fourth in it.
Single-stage correction uses one cut-and-finish step and typically removes 60 to 80 percent of light defects. It is the right call on a well-kept daily driver where the goal is a clear, honest gloss. Multi-stage correction adds a dedicated cutting step and a refinement step, chases the remaining defects panel by panel, and takes a finish close to 90 or 95 percent. That is the level people mean when they say a car looks better than new.
We finish by wiping panels with a residue remover, so what you approve is bare corrected paint and not polishing oils. Then we tell you honestly what did not come out. A scratch you can catch with a fingernail has gone through the clear coat, which makes it a body shop conversation, and we would rather say so than polish around it.
What is included
Every stage, spelled out.
If something on this list does not apply to your vehicle we take it off the quote rather than charge for it.
- 01Full decontamination wash as the prerequisite stage
- 02Paint thickness readings recorded before work begins
- 03Inspection under raking and direct light, defect map by panel
- 04Test spot approved with you before the full car is started
- 05Machine cut and refinement, panel by panel
- 06Trim, badge and edge taping to protect vulnerable surfaces
- 07Oil-stripping wipe-down so the result you approve is the real result
- 08Protection applied on completion, either sealant or coating
Anatomy of the job
What two days actually look like.
“Multi-stage correction” is a phrase. This is the schedule behind it: where the hours go, and the two points where the work stops and waits for you.
Day one
Decontamination and cutting. Nothing is polished until the paint is measured.
- 08:00
Arrive and set up
Tank, generator, extraction and lighting come off the rig. Roughly half an hour, and your driveway stays usable around us.
- 08:30
Wheels, barrels, arches
First, while the paint is still cold and dry. Faces, barrels, lug seats and wheel wells by hand, with dedicated brushes.
- 09:30
Foam dwell, contact wash, dry
A dwell lifts the loose layer before anything touches the paint, then a two-bucket wash with fresh media per panel section.
- 10:30
Iron and clay decontamination
The iron remover bleeds purple off the lower panels. Clay shears off what is left. The hood goes from sandpaper to glass.
- 12:00
Measure, then inspect
Paint thickness readings recorded panel by panel, then the defect map under raking light. Clear coat is finite; this decides what is safe to remove.
- 13:00
Test spot, and your approval
One section corrected and shown to you on your own paint, under the same light. The rest of the car is not touched until you have seen it.
- 14:00
Cutting stage
Panel by panel, with trim and edges taped. This is the long part and it does not get rushed to fit a day.
- 18:00
Stop, cover, leave
The vehicle stays under cover overnight. Nothing half-corrected gets driven.
Day two
Refinement and protection. The finish is stripped bare before anything goes on it.
- 08:00
Refinement stage
The cutting stage leaves its own light haze. This removes it and brings the gloss up to the level the test spot promised.
- 12:00
Oil-stripping wipe-down
Every trace of polishing oil comes off, so what you approve is bare corrected paint and not a temporary shine.
- 13:00
Coating, levelled by hand
Applied and levelled panel by panel under controlled light. A missed high spot cures hard and has to be polished back out, so this stage is deliberately slow.
- 16:00
Cure begins
The vehicle stays in your covered space, dry and untouched, for the stated cure window. No rain contact, no washing.
- End
Walkaround and handover
We go over the car with you in good light: what came out, what did not, and why. Written aftercare, and the date worth booking the inspection.
A typical schedule for a mid-size vehicle in fair condition, and not a promise for yours. Condition moves every number on this page, which is why we look at the car before we quote it.
Where we do this
Paint Correction at your address, both sides of the river.
Book it
Get a quote for paint correction.
Send the vehicle, the city and where it will be parked. We come back with a scope, a price and a window, usually the same working day.
(509) 224-8299Also worth knowing about
Interior Detailing
Hot-water extraction, steam and hand work that pull the cabin back to a condition you can smell as well as see.
Read moreExterior Detailing
A hand wash built to remove contamination instead of grinding it into the clear coat, plus the wheel work nobody else bothers with.
Read moreCeramic Coating
A hard, chemically bonded layer over corrected paint, so the finish you paid for is the finish you keep.
Read more